

So often,
maple syrup gets added to recipes in the fall. I won’t deny that it goes extremely
well with fall foods and flavors, but since maple syrup really is a spring
product, I like to celebrate it at this time of year. Recently, I got a big boost
in that desire to celebrate by a rather large gift of homemade syrup.
My
uncle and cousin tap on the order of 90 sugar maple trees in Upper Michigan,
collect the watery sap, and boil it down into delicious liquid gold. My cousin
may have been unloading the end of last year’s batches when he gave me 4 pints of
syrup in March, but if one were to add up the retail value of this pure Grade A
goodness, I have no choice than to feel like an important and well-loved part of
an extremely generous family.
2018’s
spring syrup crop has been boiled and sealed away, ready for baking and drizzling
all year long. Here, I have complied a list of my favorite uses for maple syrup
from The Messy Apron Archives. I have all the good stuff here, from maple flavored
baked goods to pancakes, waffles, and the homemade breads that make the best
French Toast.
Maple
syrup is a subtle flavor in baked goods, but I find it a lovely way to bring on
the sweetness, and a little goes a long way.
It’s really great with dates, like in Maple Cake with Walnuts and Dates


I
love it for sweetening homemade Granola, too.

And for more savory applications there’s Maple Walnut Vinaigrette, which is great on the spinach salad in the same post and the grain
salad in this one.
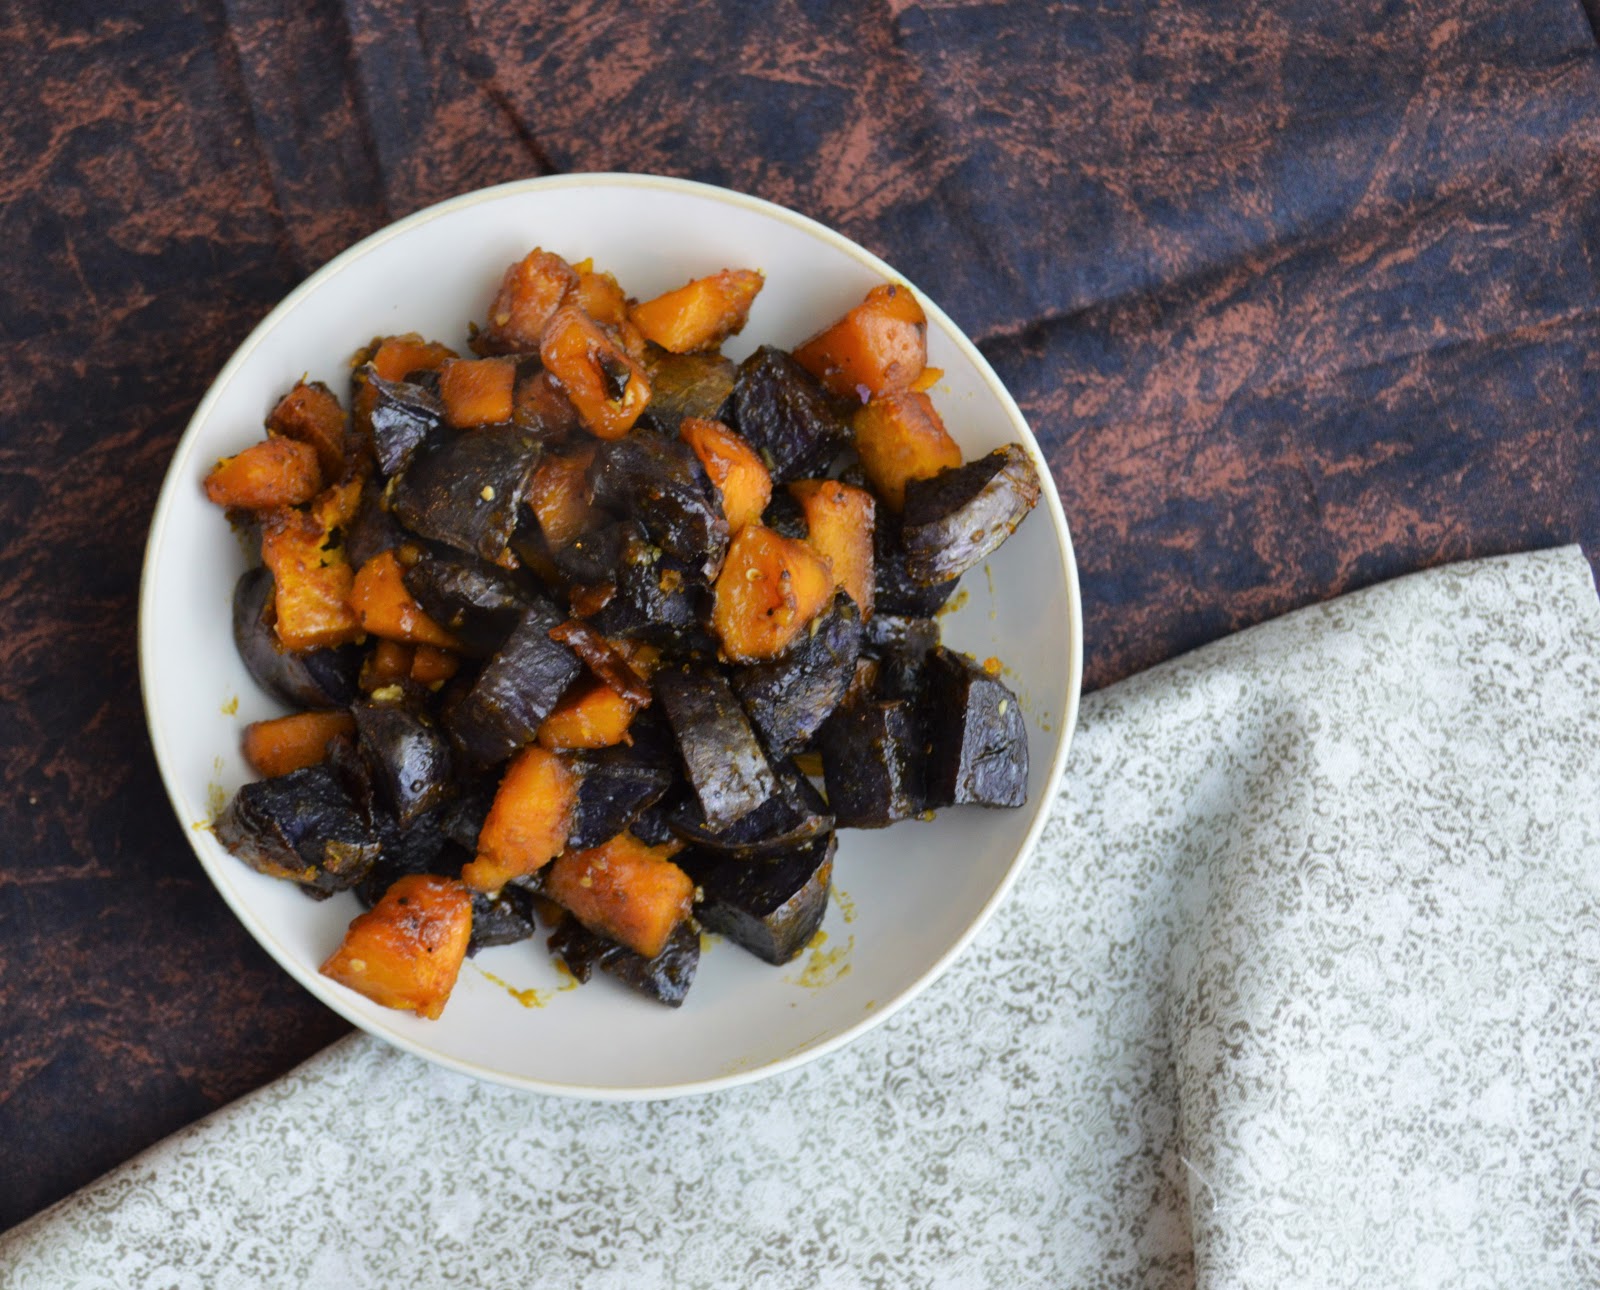
And
Maple Glazed Winter Squash and Potatoes, which is, admittedly, a more autumnal
recipe. I think other vegetables, or even tempeh and tofu could benefit from
this application.
The
majority of my maple syrup does end up playing a more traditional role, however:
that of properly gilding pancakes, waffles, and French toast. The most popular pancake
recipe on The Messy Apron is this one for Barley Pancakes with Orange Juice and Vanilla.

But
all of the others, including, Butter Pecan Pancakes, Coconut Pineapple Pancakes,
and Double Banana Walnut Pancakes are appropriate vehicles for maple syrup as
well.
Waffles
are great, too, and I can’t think of a reason not to drench them in maple syrup.
For thin and crispy waffles, there’s Crispy Light Wheat and Cinnamon Waffles

There’s
also Overnight Yeasted Belgian Waffles.

Finally,
let’s not forget French toast, which I think needs to be made with thick slices
of bread, especially homemade bread like White Sandwich Bread.
For
something with additional flavor, there’s Banana Walnut Yeast Bread, Finnish Cardamom Bread, Oatmeal Sandwich Bread, or Walnut Buttermilk Bread.
Whether
it’s baked-in or poured-upon, maple syrup is a fabulous addition to all kinds
of sweet breakfasts, desserts, snacks, even salads. For me, imitation just won’t
do. I have a source, however, and I recommend studying up to find one for yourself.
Even if you have to pay the premium on a well-made commercially available maple
syrup, I recommend doing so. Like any other specialty product, if you appreciate
it and use it well, your life can be a wonderful culinary adventure! But even
if you’re just dousing your made-from-mix pancakes or frozen waffles in it, you’re
indulging in one of North America’s greatest treats.


